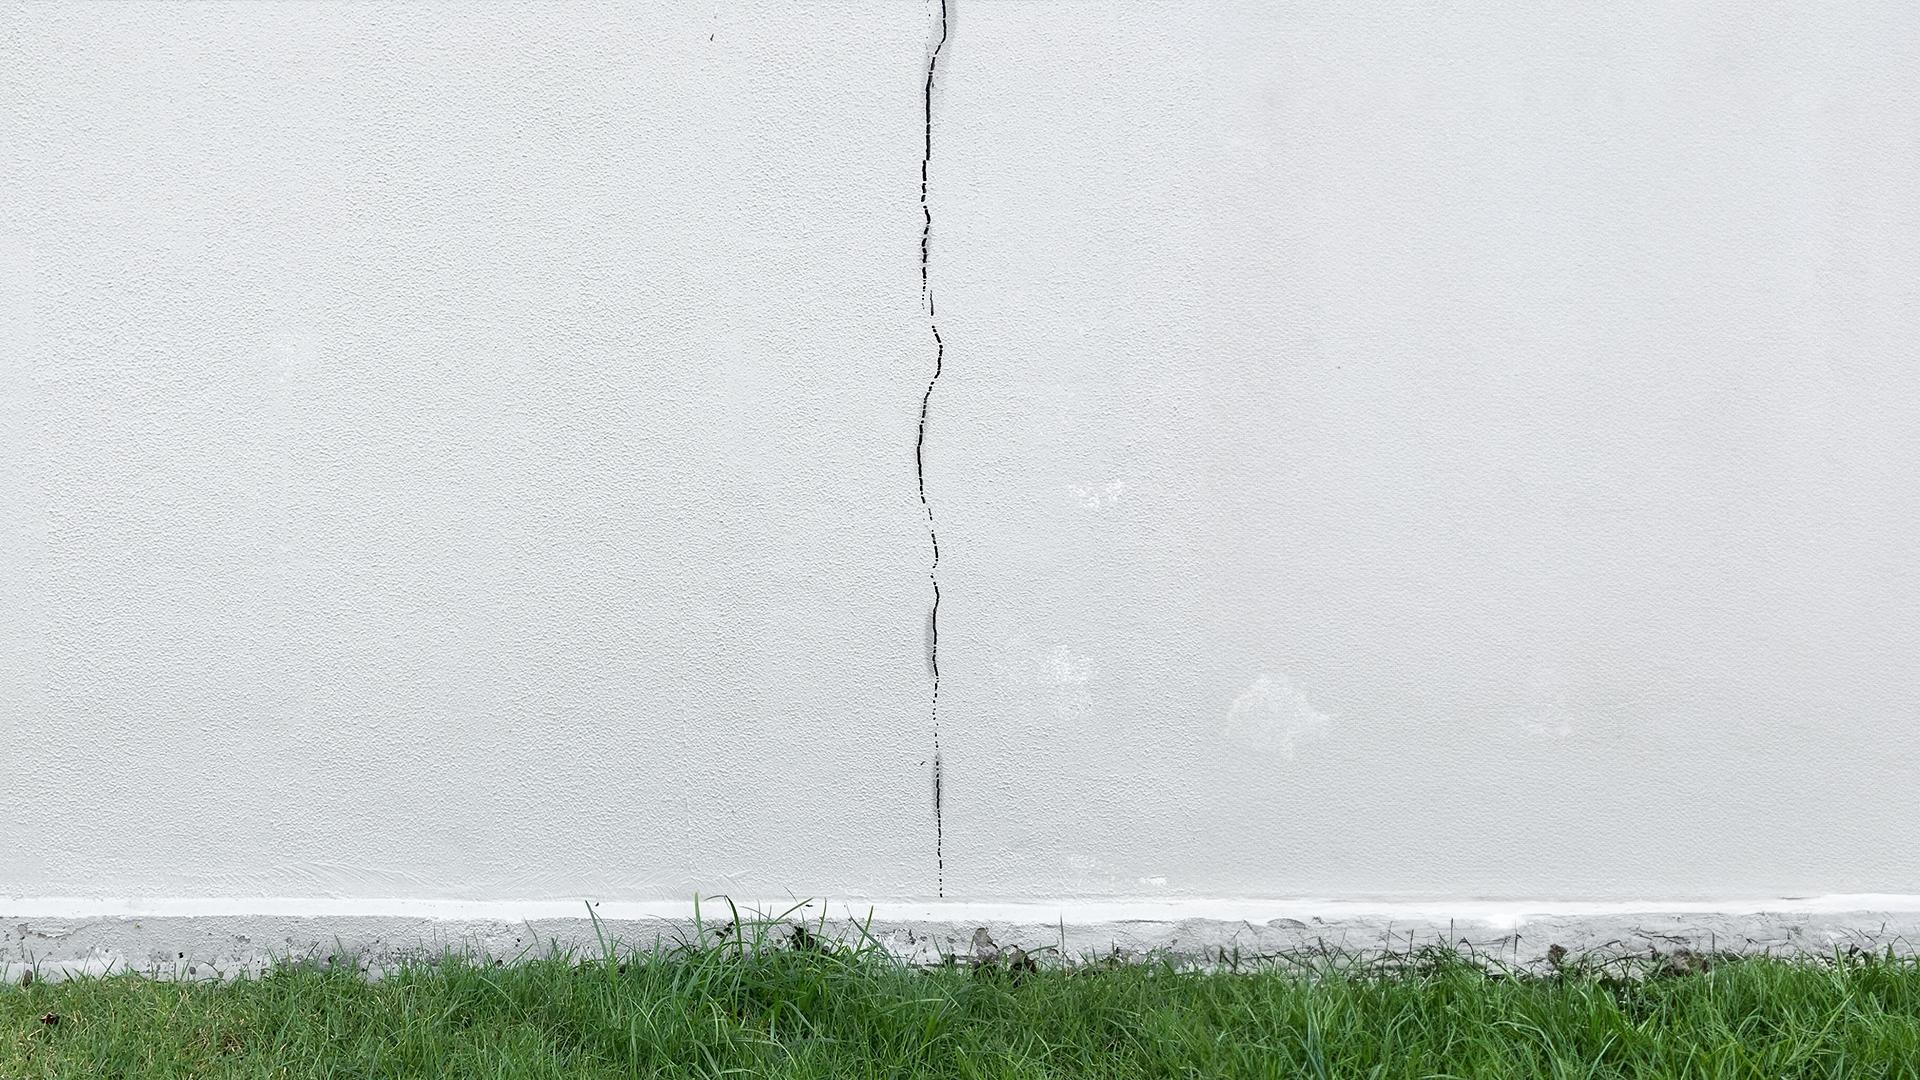
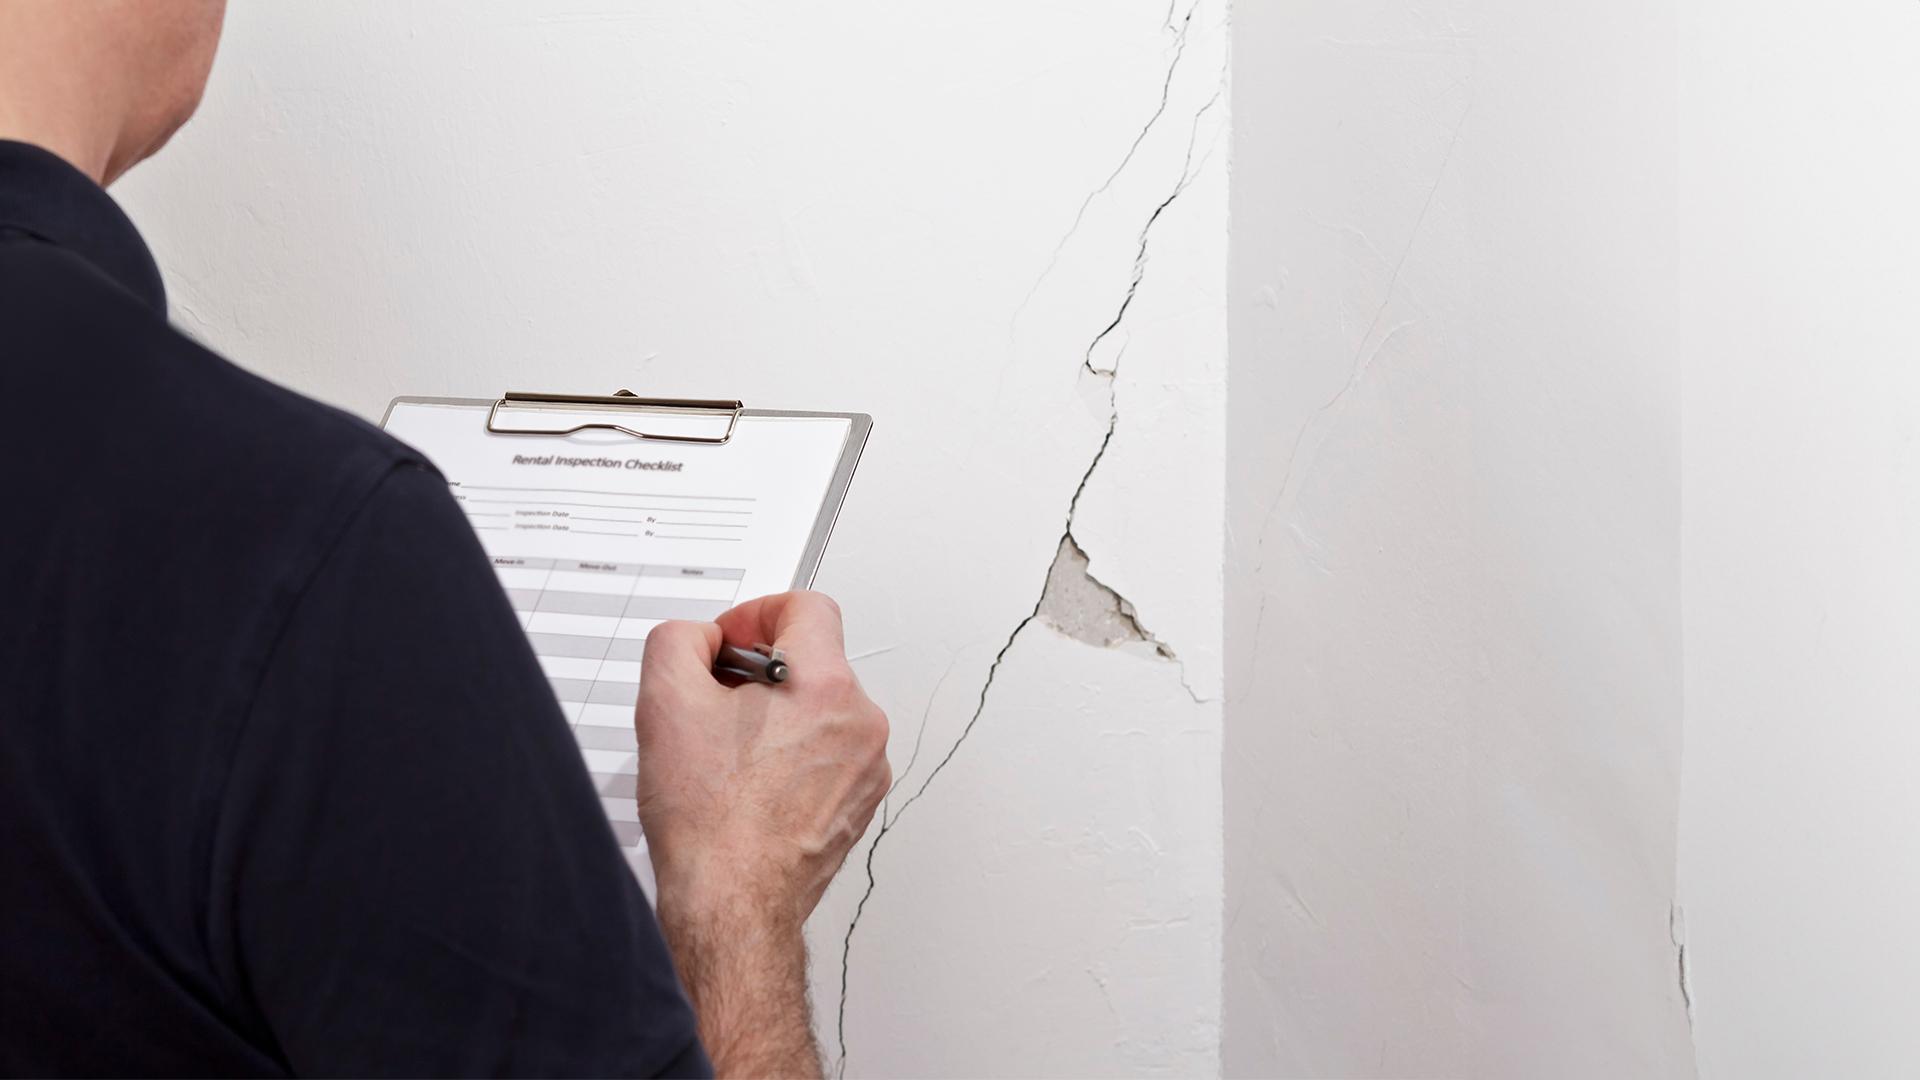
No drain
If your house was built before 1950, there may not be any foundation drain at all; few residential construction companies at the time installed them. Your property may happen to have excellent natural drainage capacity. Eventually, though, you could start to see signs of inadequate drainage. At that point, installing a drain may be the best solution.
Defective, collapsed or blocked foundation drain
Entrust the work to a contractor qualified in excavation and lot grading (Licence 2.5). This expertise will be invaluable both for diagnosing the problem correctly and performing the actual corrective work.
Drain inspection by camera
For an accurate assessment, the expert will examine the drain using a video camera connected to a monitor. Depending on the situation, they will access the drain via the cleanouts (vertical tubes running from the ground to the drain pipe), the floor drain / sump pit, or the storm sewer line. If this is not possible, one or more trenches will have to be dug outside.
Solutions:
- Unblock the drain using water pressure: Sometimes, cleaning with a high-pressure washer may be enough.
- Partially repair the existing drain: If only part of the drain is blocked, it can be restored to working condition.
- Completely replace the foundation drain
- As this is a major project, get quotes from two or three different contractors.
- The work requires excavation and may take several days or weeks. The final grading can only be done the following year, as the soil needs time to settle. The return on investment, however, is worth it: stability, comfort, increased properly value, and peace of mind for a long time!
Indoor drain
Sometimes, excavating around the house is problematic or impossible. In such cases, installation of an indoor foundation drain can be considered.
Solution:
- Saw into the basement slab around the walls, to a width of approximately 12 inches (30 cm), creating a trench.
- Connect the trench to an indoor sump pit, with a sump pump installed (see next section).
- Protect the inside of the foundation walls with a drainage membrane to intercept water.
- Install the drain pipe, fill in with gravel, cover with new cement, and finish the walls.
Sump pit
A sump pit (essentially, a basin for collecting water) may also need to be installed if you regularly experience water seeping into the basement through the slab (i.e., the water table rises frequently). In some cases, the sump pit can serve to collect the water from the foundation drain.
Solution:
- Break the slab and dig a square pit approximately 2 feet (60 cm) deep.
- Line the bottom with gravel and fit a sump box with a perforated bottom into the pit.
- Install a sump pump to keep the water level well below the slab.
Warning:
- Check your municipal bylaws before doing the work. The sump pit should discharge the water into the city storm drain, with any excess water pumped through an overflow pipe that leads outside, well away from the foundation.
- Beware of radon! Be sure to install an airtight container over the sump pit. This will also prevent unpleasant odours and keep insects away.
Sump maintenance
Your sump pit needs to be cleaned every year. The drainage water brings in earth and sand, which can prevent the pump from operating properly.
- Check that the pump is working properly, and check for debris that could be keeping it from drawing water.
- Pour some fresh water into the sump pit from time to time so that the pump comes on and discharges standing water (this will help prevent odours).
- If the sump pit is connected to the storm sewer, use the cleanout to check that the backwater valve between the sewer line and the sump pit is working (make sure the valve closes properly).
- Call in an expert if you notice that the water is rust-coloured. The drain may be at fault!